New Holding Tank
Narrowboat toilets fall into two main types – pumpout and cassette. With a pumpout type the output from the toilet goes into a large tank onboard, known as a holding tank. It’s stored there until you visit services at e.g. a marina where it’s connected to a pumpout machine which transfers the contents of the tank into the mains sewer. It is usually two to three weeks between pumpouts.
With a cassette system the contents go into a small portable container which can be carried for disposal at what is known as an Elsan point.
On Just Heaven we have the pumpout type. We know more or less how long it takes to fill the tank when we are on board. Towards the end of our summer trip twice it filled quicker that we expected. How we know that a pumpout is due is that a green light on the toilet control turns red. There is a level sensor in the tank that triggers this. I surmised that there could be two reasons for this. Either the level sensor had become blocked and was triggering too early, or a crust of ‘solids’ had built up in the bottom of the tank which wasn’t getting emptied at a pumpout.
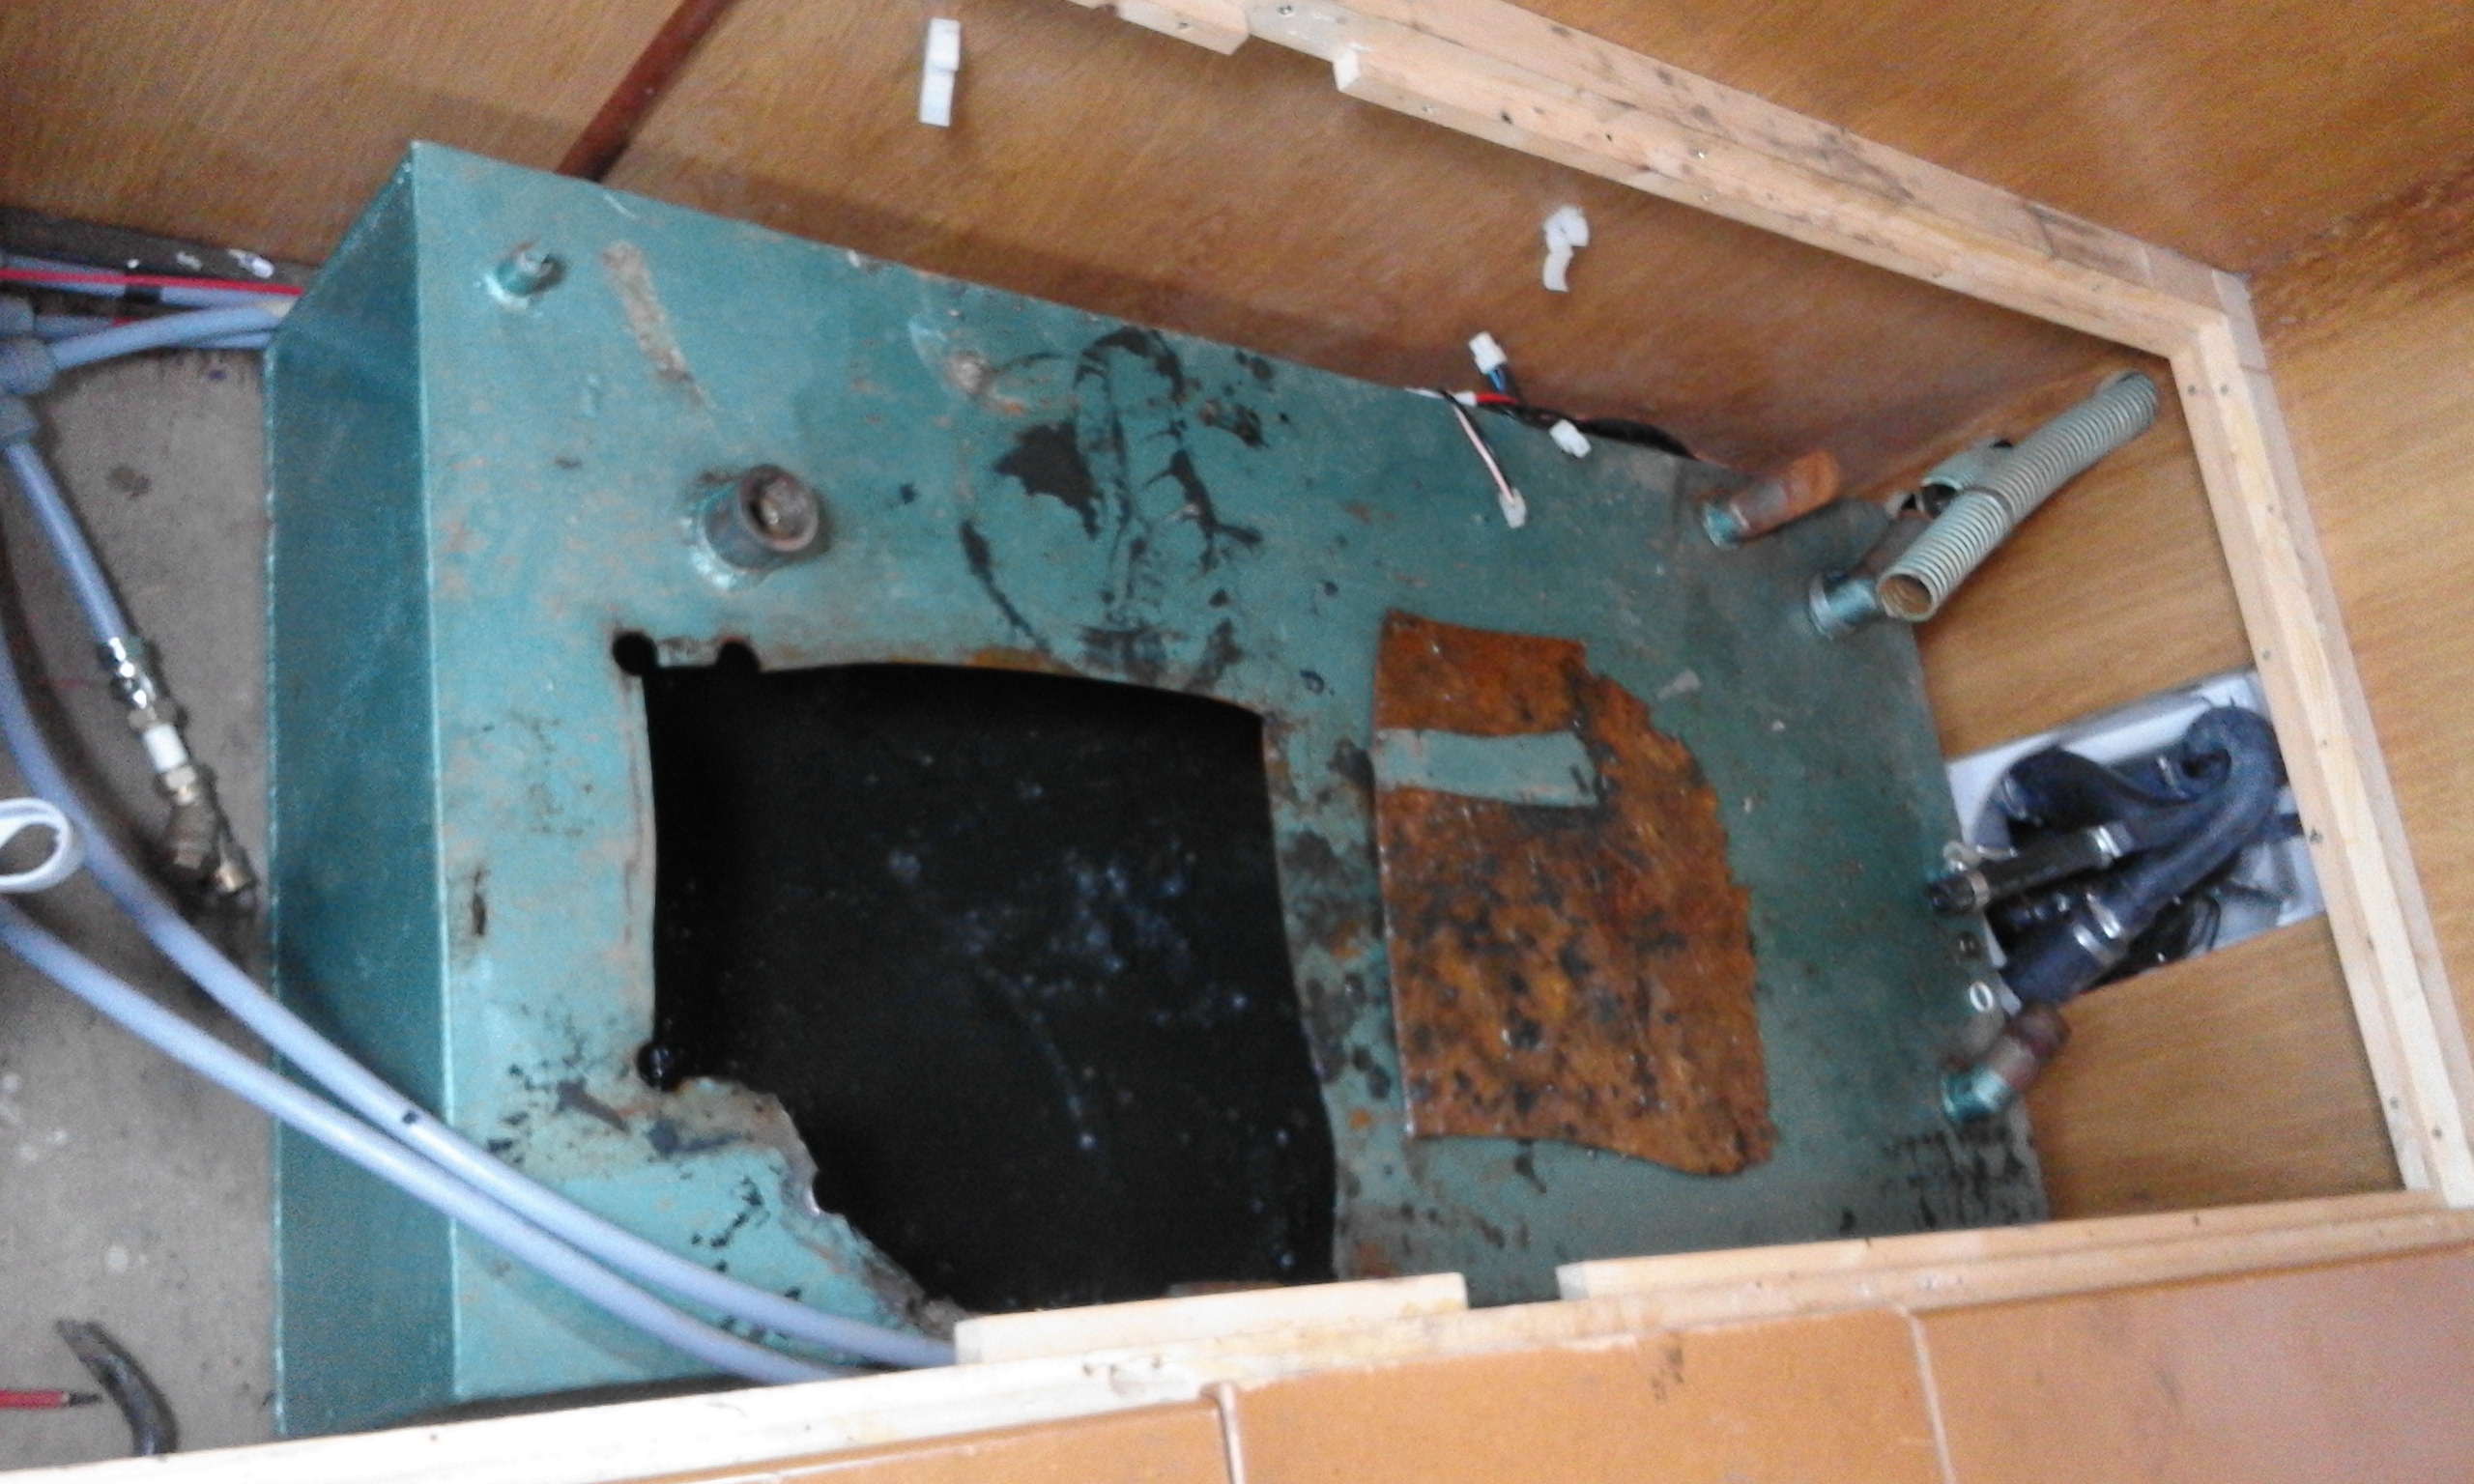
The tank is under our bed, so I dismantled the bed to have a look at the sensor. What I found was a little worrying. The first thing I noticed was the slight smell, then I saw that tank had sprung a leak! It wasn’t actually leaking, but in a couple of places the steel had rusted through enough that I could have poked my finger through. As a temporary measure we covered the suspect area with gaffer tape. We probably could have had someone weld a patch over the hole, but if it was thin in one place then it was likely to be thin elsewhere too.
At home I researched suppliers of suitable replacement tanks. Off the shelf tanks were available, but any that would fit in the space were quite a bit smaller that the old one. So we decided to have one specially made. That meant it could be a bit bigger than the old one, which didnt fill all of the available space.
After getting a few quotes we placed an order with Henderson Plastics. They were very helpful in answering all my questions regarding the positioning of the various pipe fittings etc. The new tank is made of polypropylene – so it wont rust!
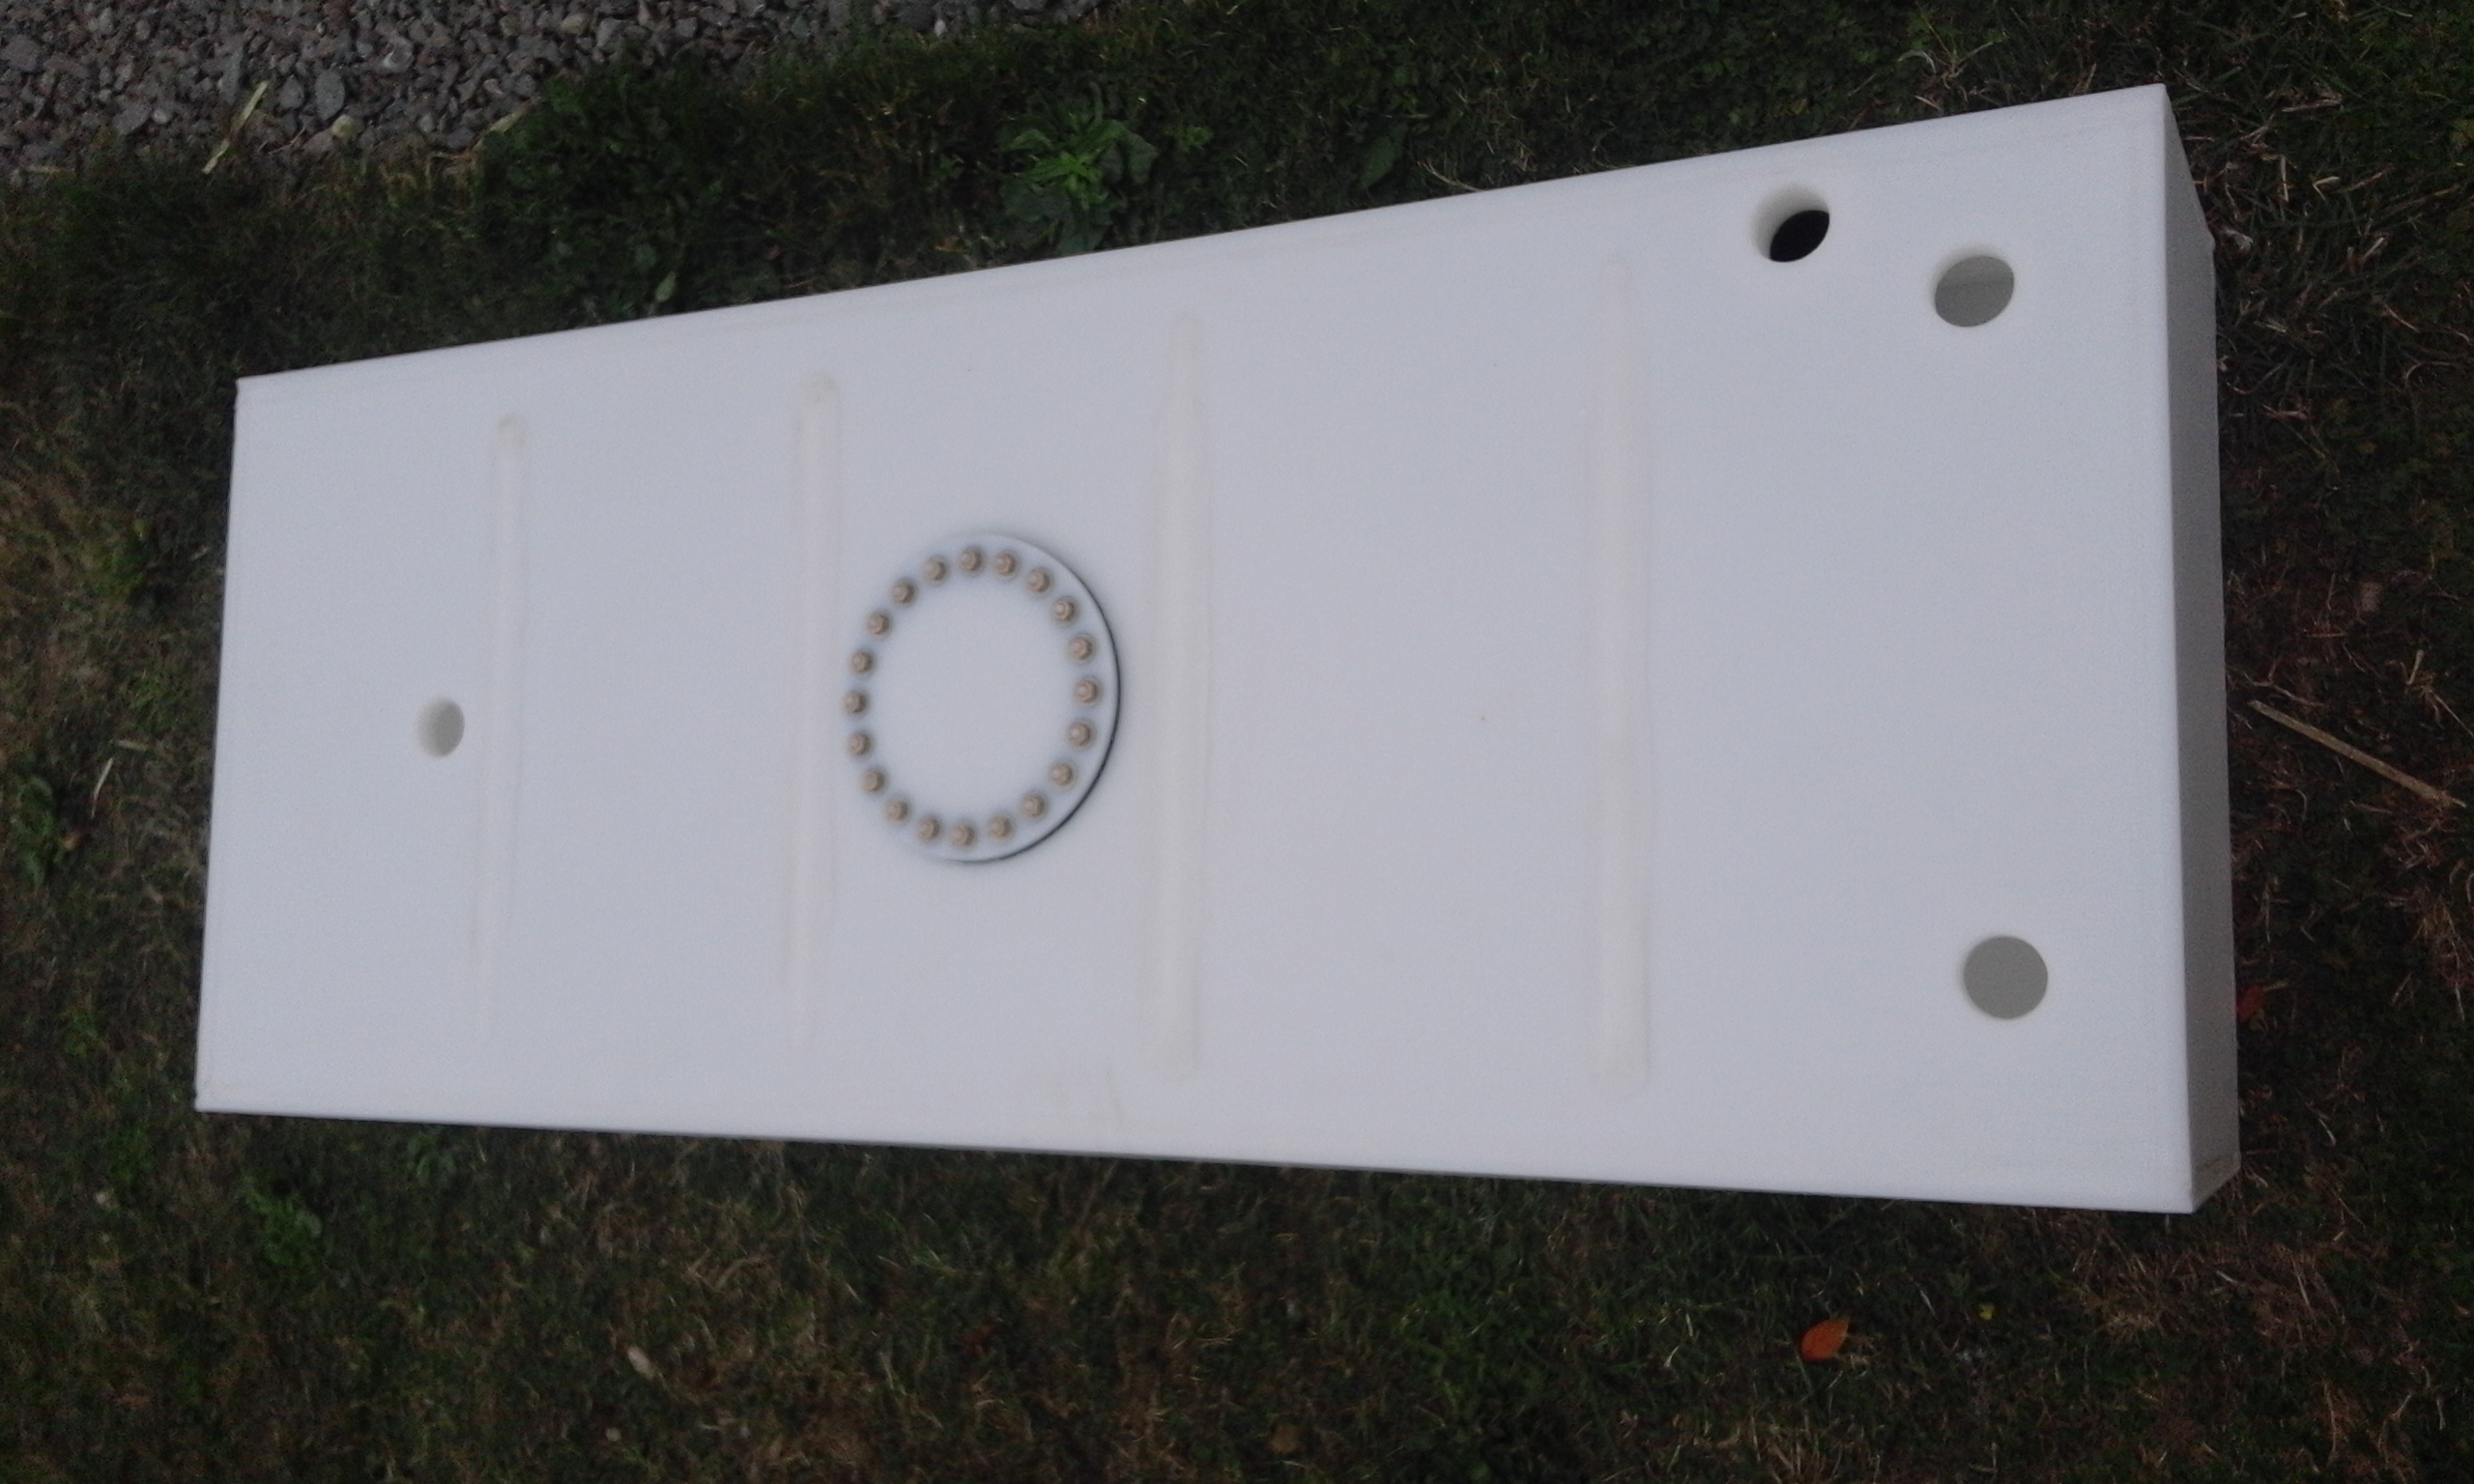
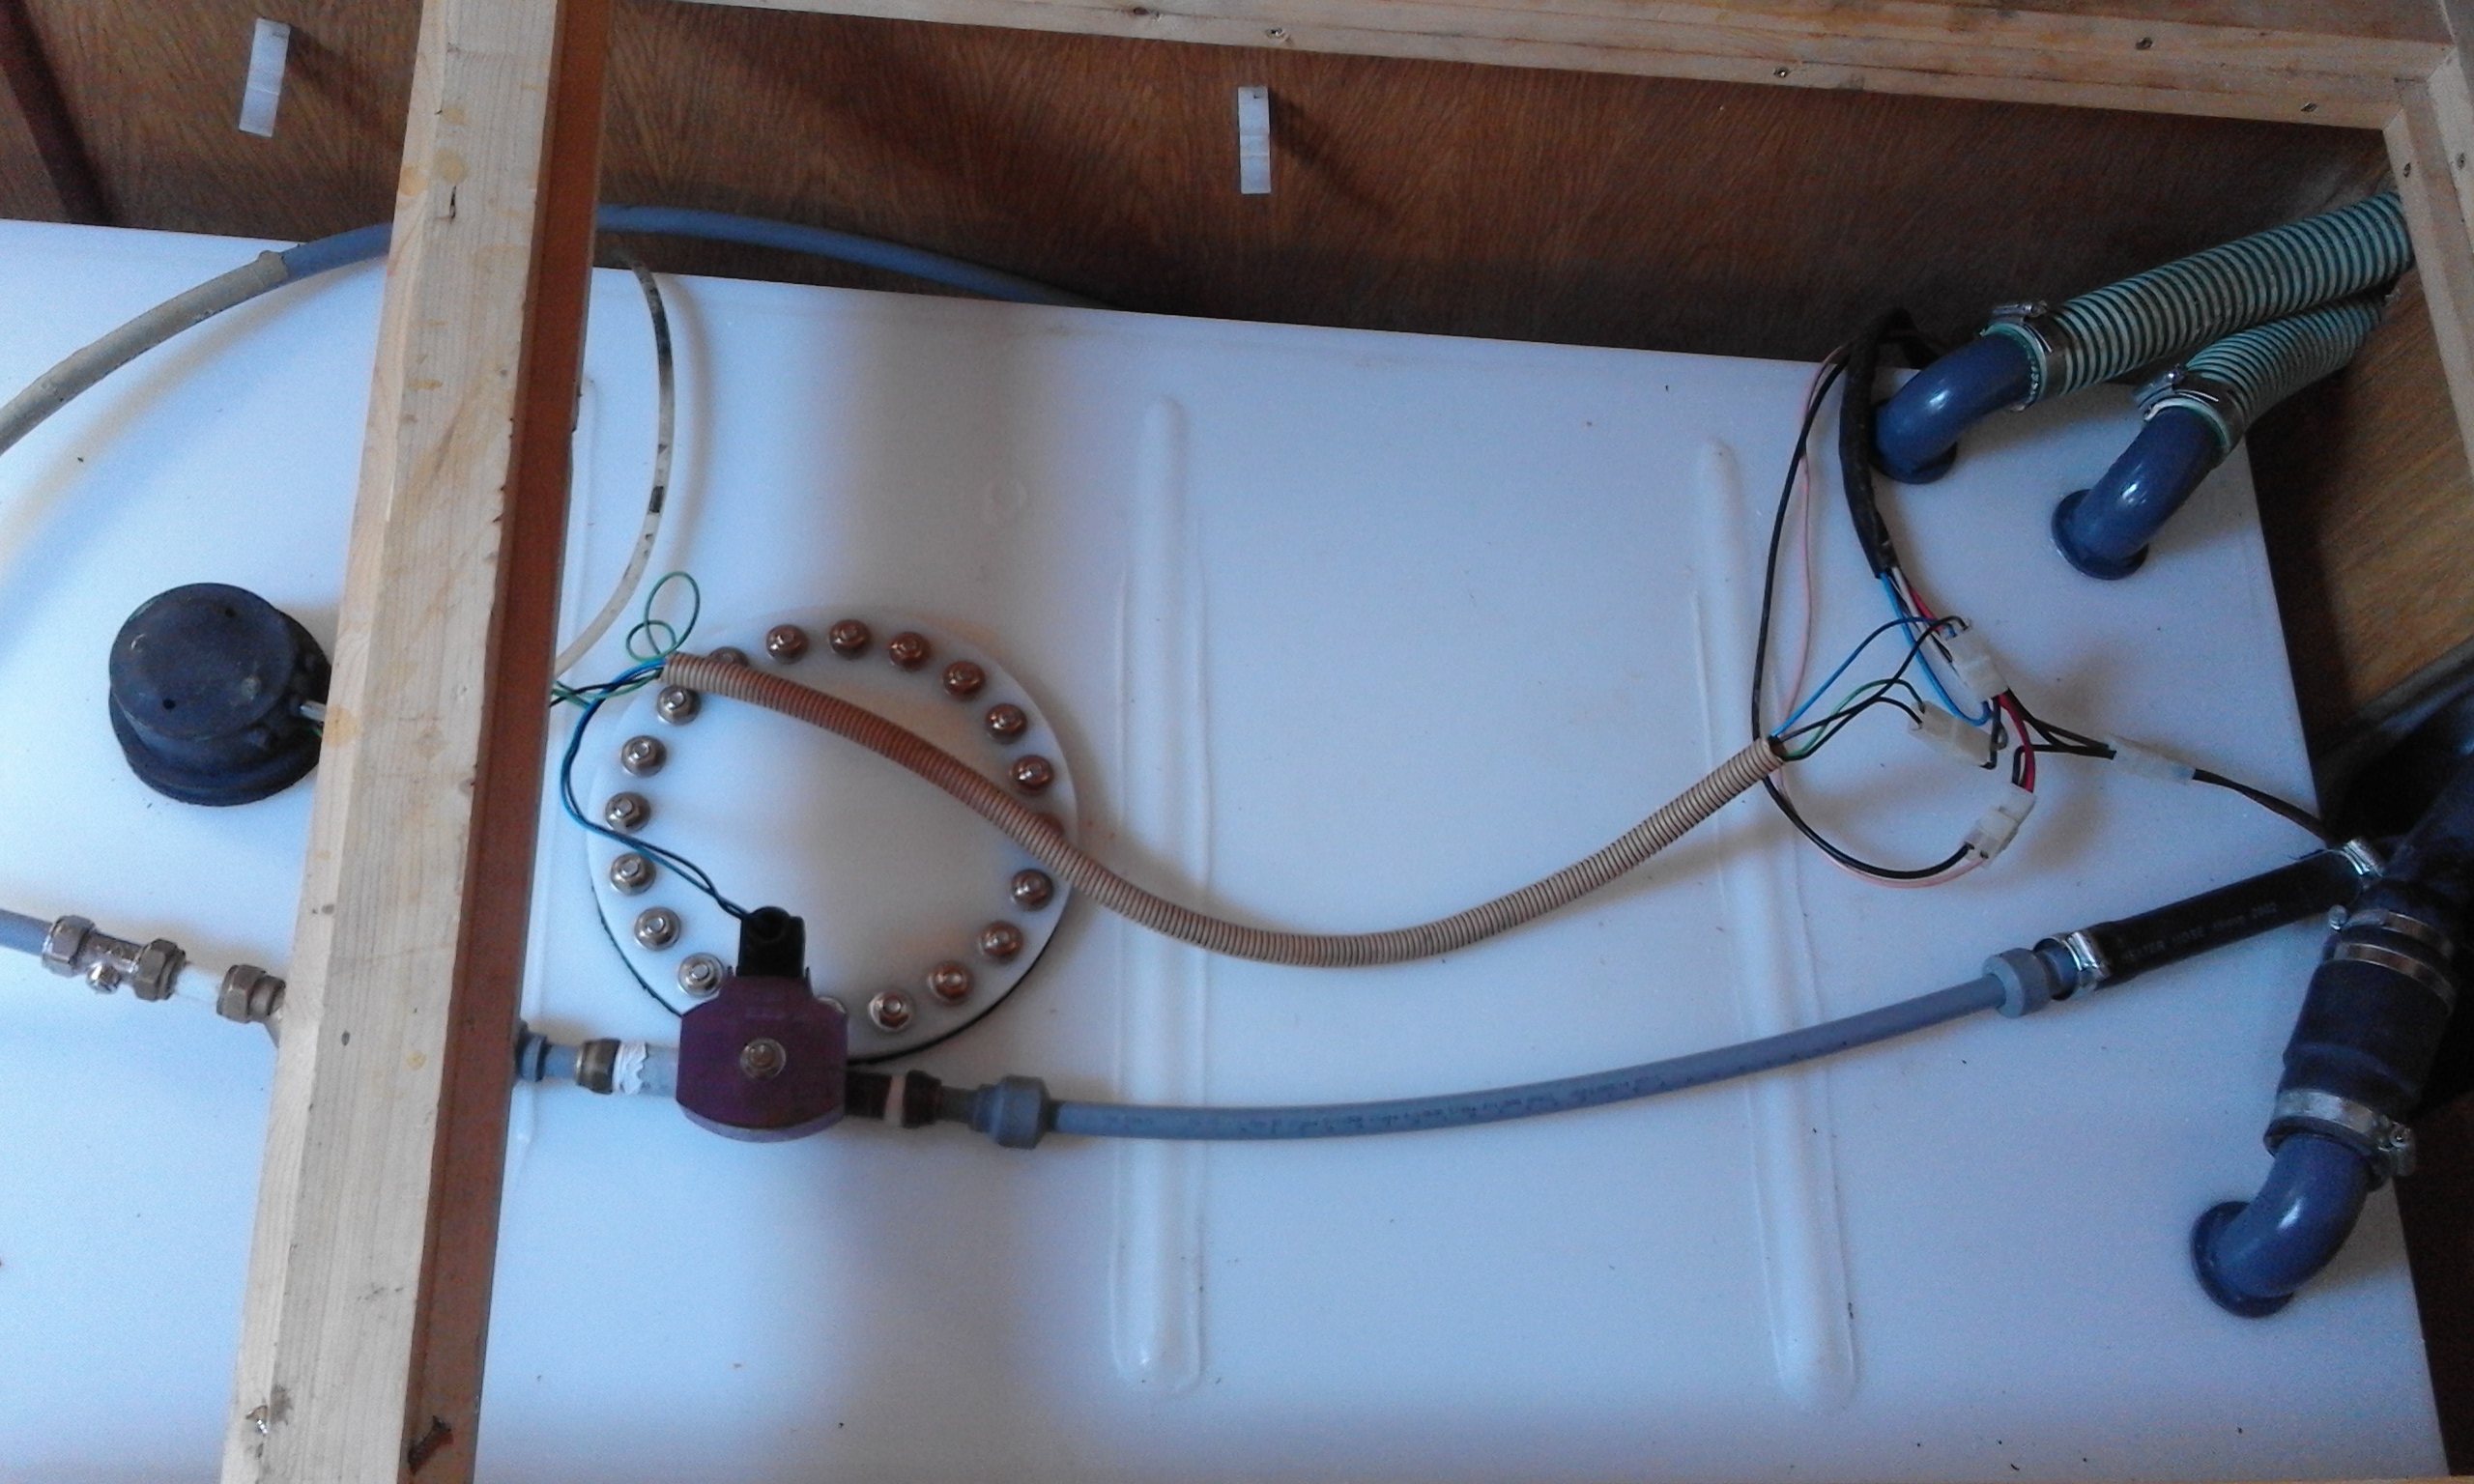
The holes are for the fittings – in, out, air breather and level sensor. The circular bit in the middle is an inspection hatch.
I calculated the weight of the empty steel tank to be between 40-60 kilos, too heavy to just lift out. Also it wasn’t likely to be completely empty even after a pumpout. So I planned to cut it up in situ and take it out in several pieces. I asked for advice on the Canal World Internet forum and Martin (@onewheeler) suggested I use a reciprocating saw. A trip to Screwfix provided one, and it did the job very well, cutting through the steel fairly easily.
First I cut a hole in the top so that we could put a hose pipe down there to flush it out whilst connected to the pumpout machine.
After cutting the hole we took the boat over to the services and did two thorough pumpouts while flushing the tank via a hosepipe through the bedroom window.
I then set about cutting the tank up, after scraping out as much of the encrusted solids as I could – quite a dirty, smelly job!
The Screwfix saw made quite short work of cutting the tank into three parts.
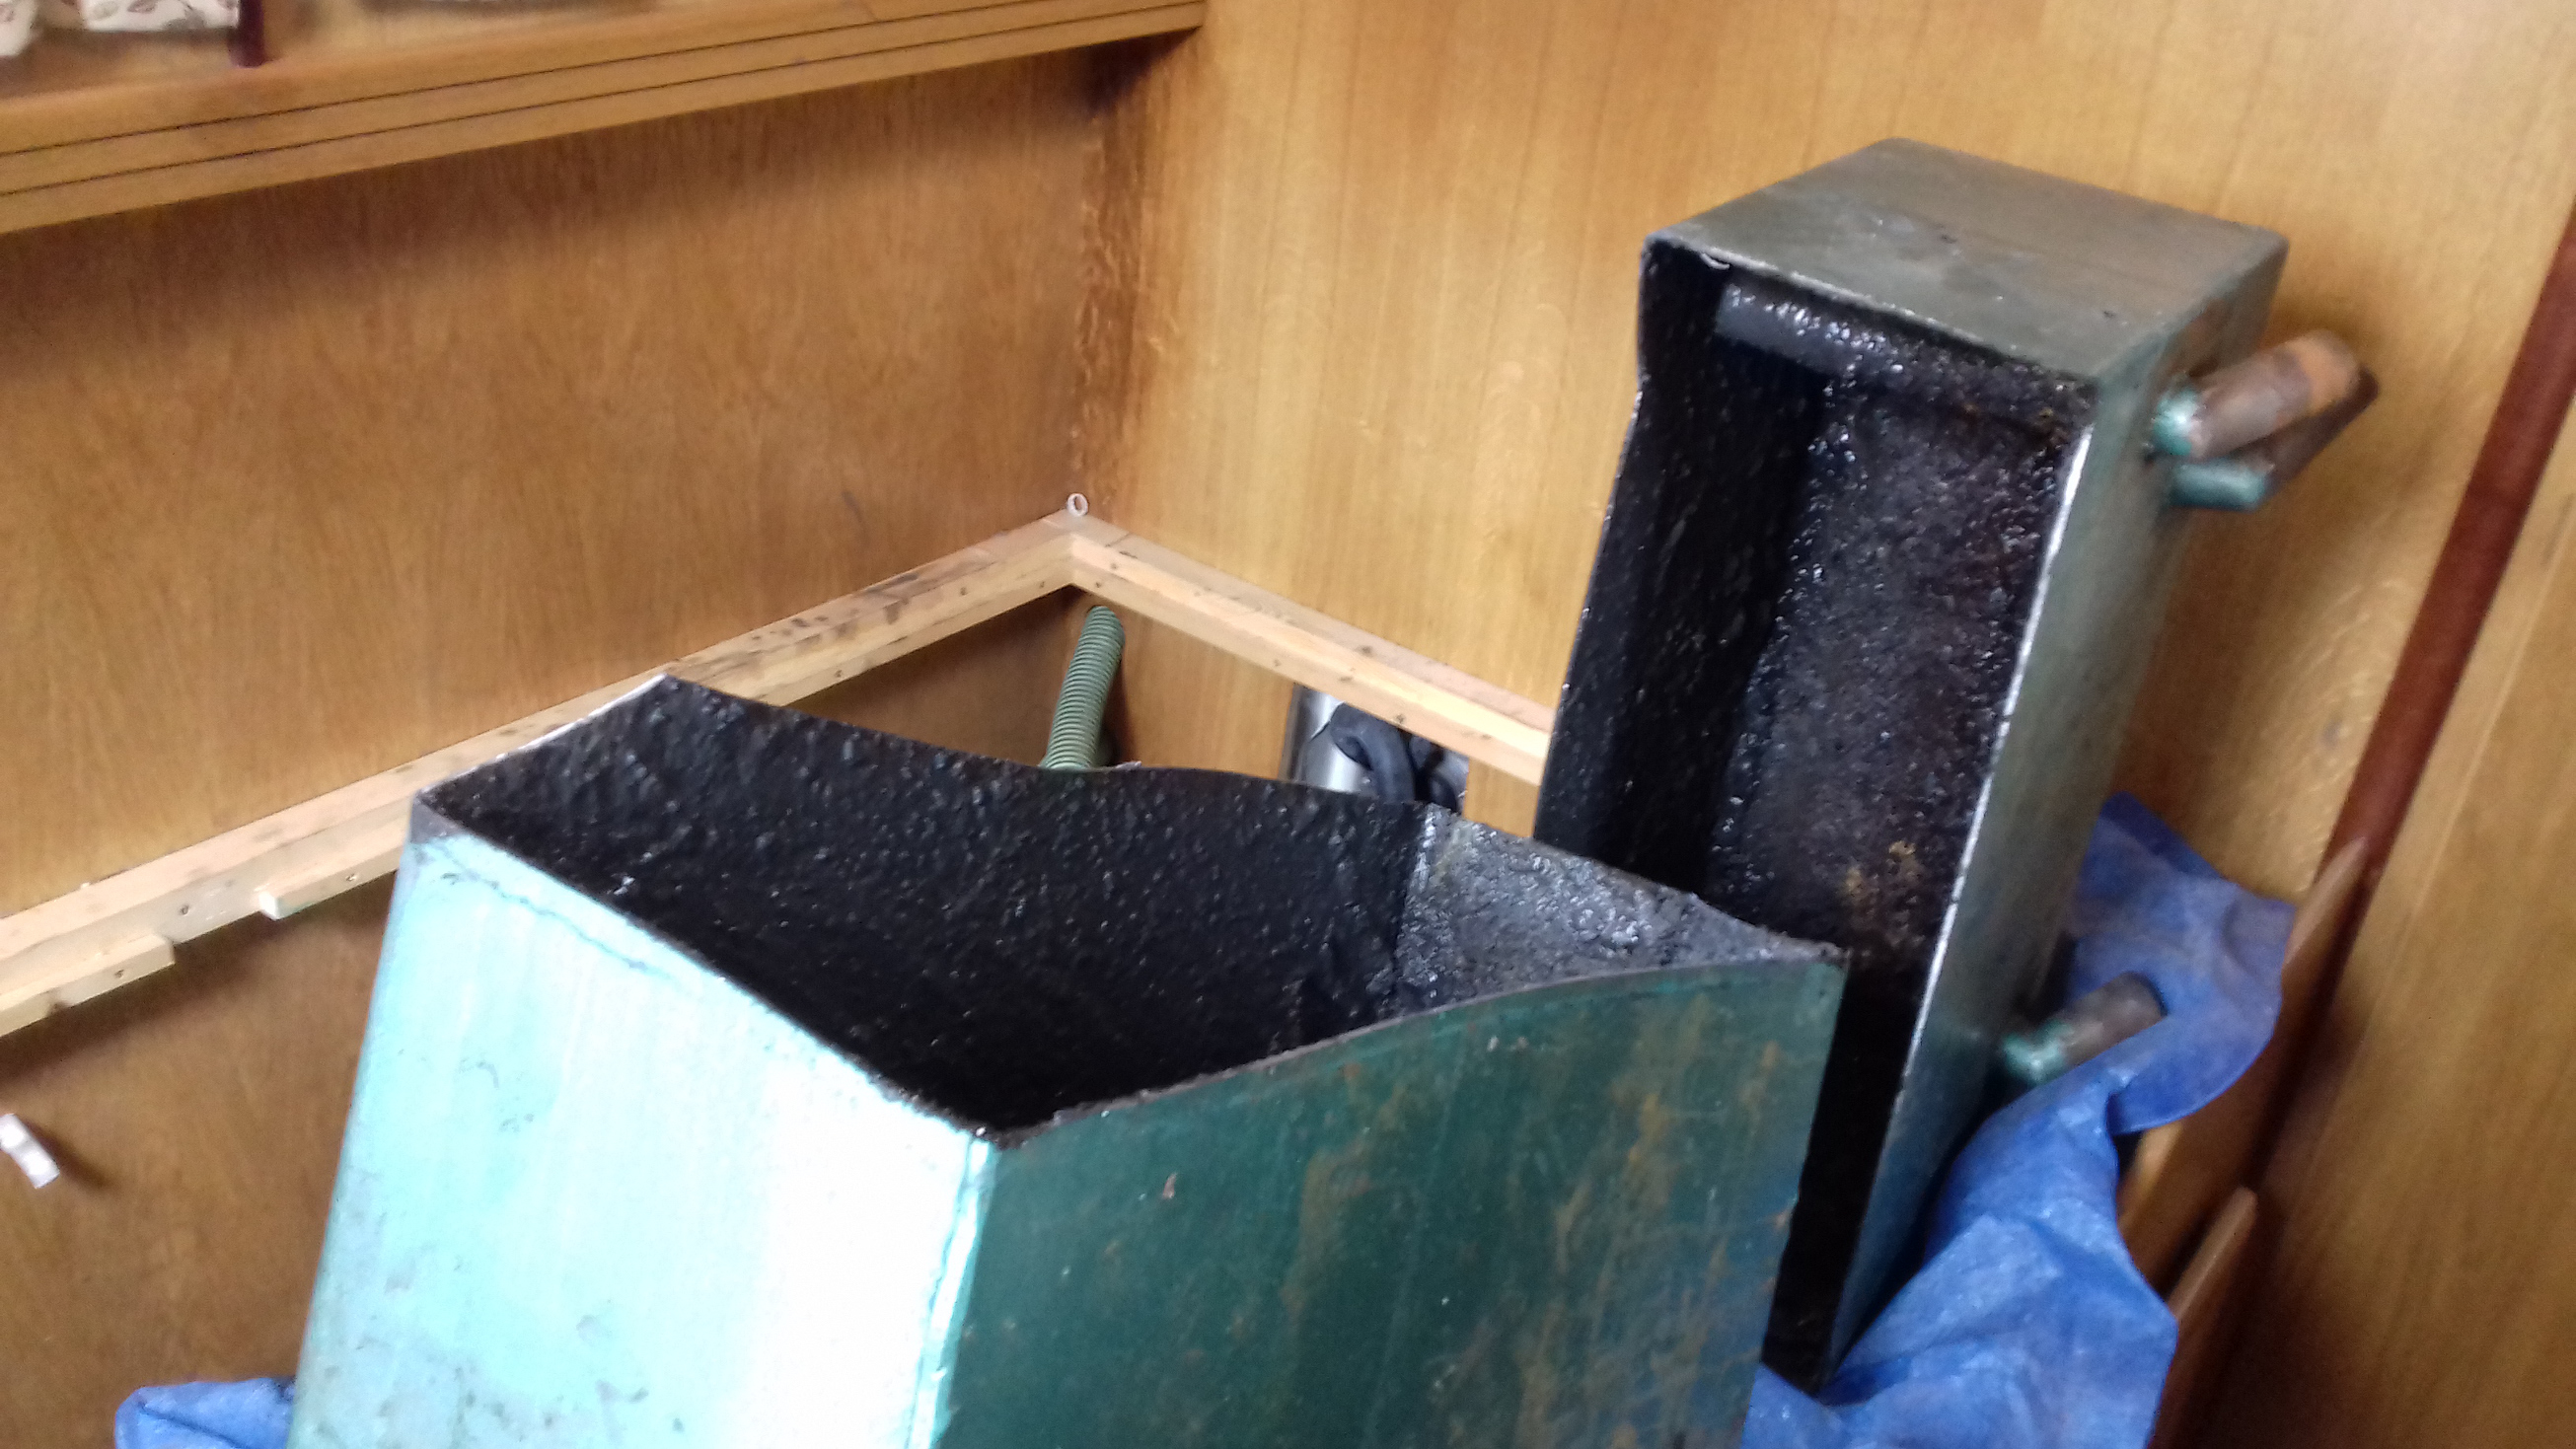
We wrapped each part in a sheet to protect the inside of the boat (and ourselves) from any residue and carried them out through the back doors. Which was a bit difficult as they were still quite heavy and access round the steps wasn’t easy.
We were now left with a space where the tank had been.
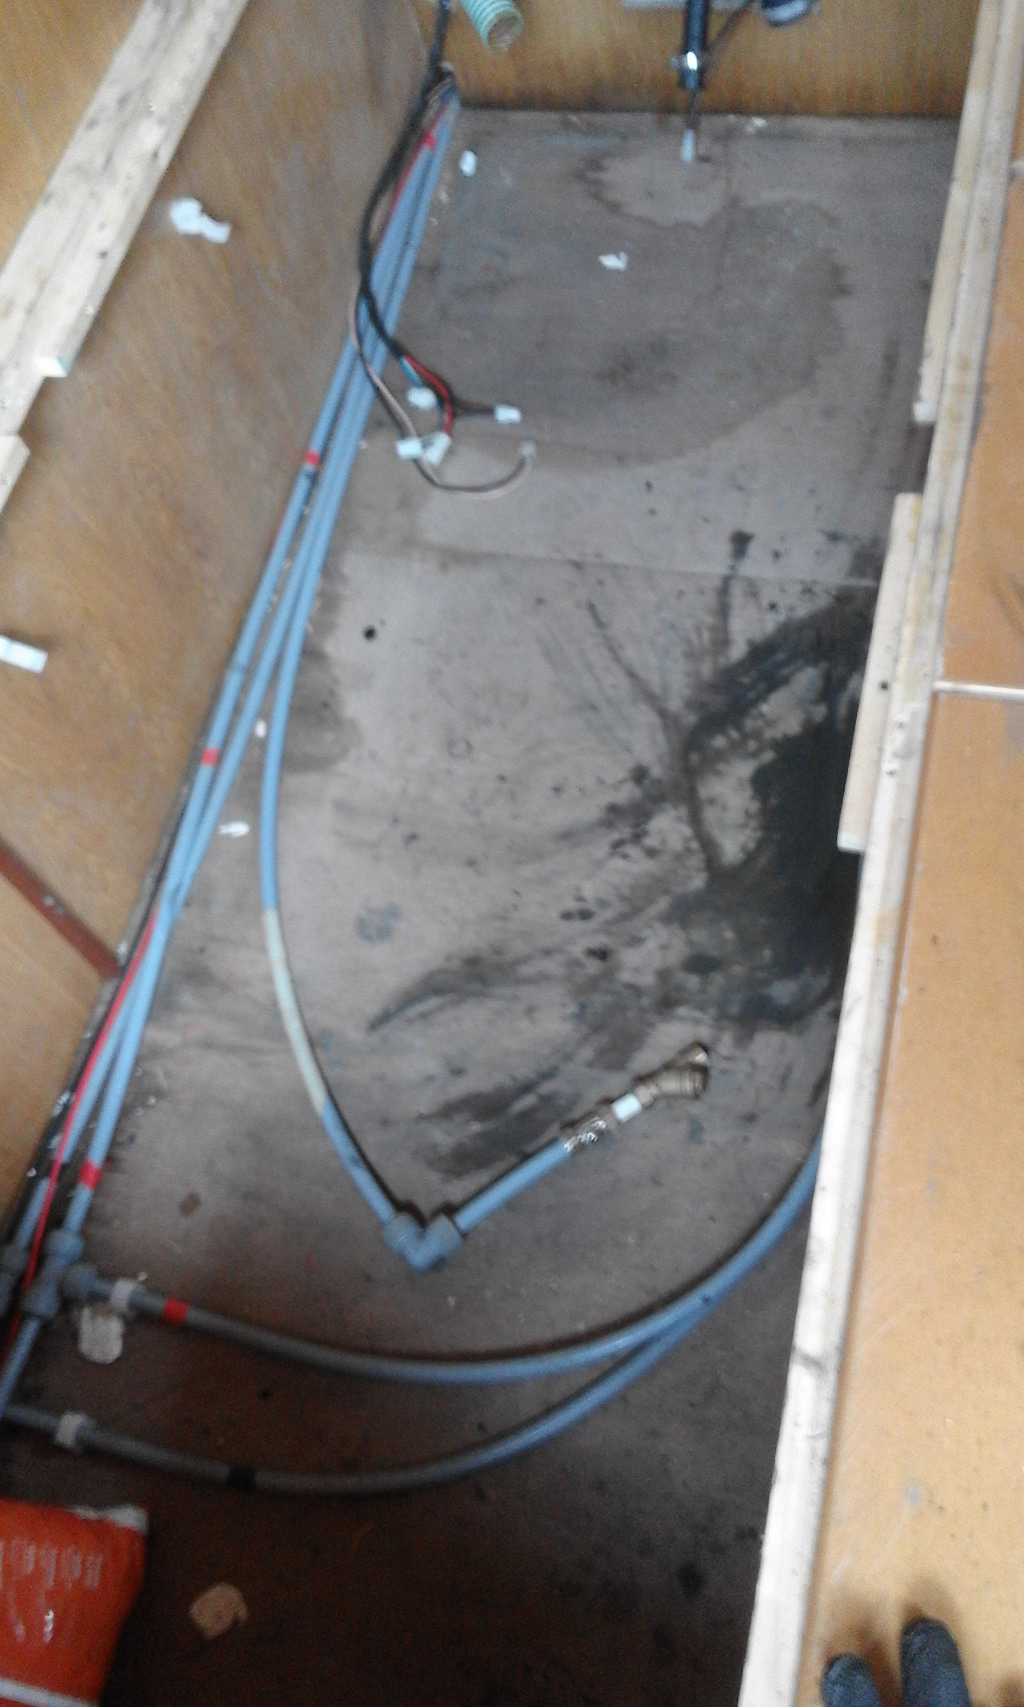
It was a bit messy as there had been some spillage during the cutting process. Also unbeknown to us at the start there were a couple very thin patches near the bottom of the tank, which had started leaking during all the manoeuvring. So we spent quite a while scrubbing and cleaning to try and ensure that all the smelly stuff was gone.
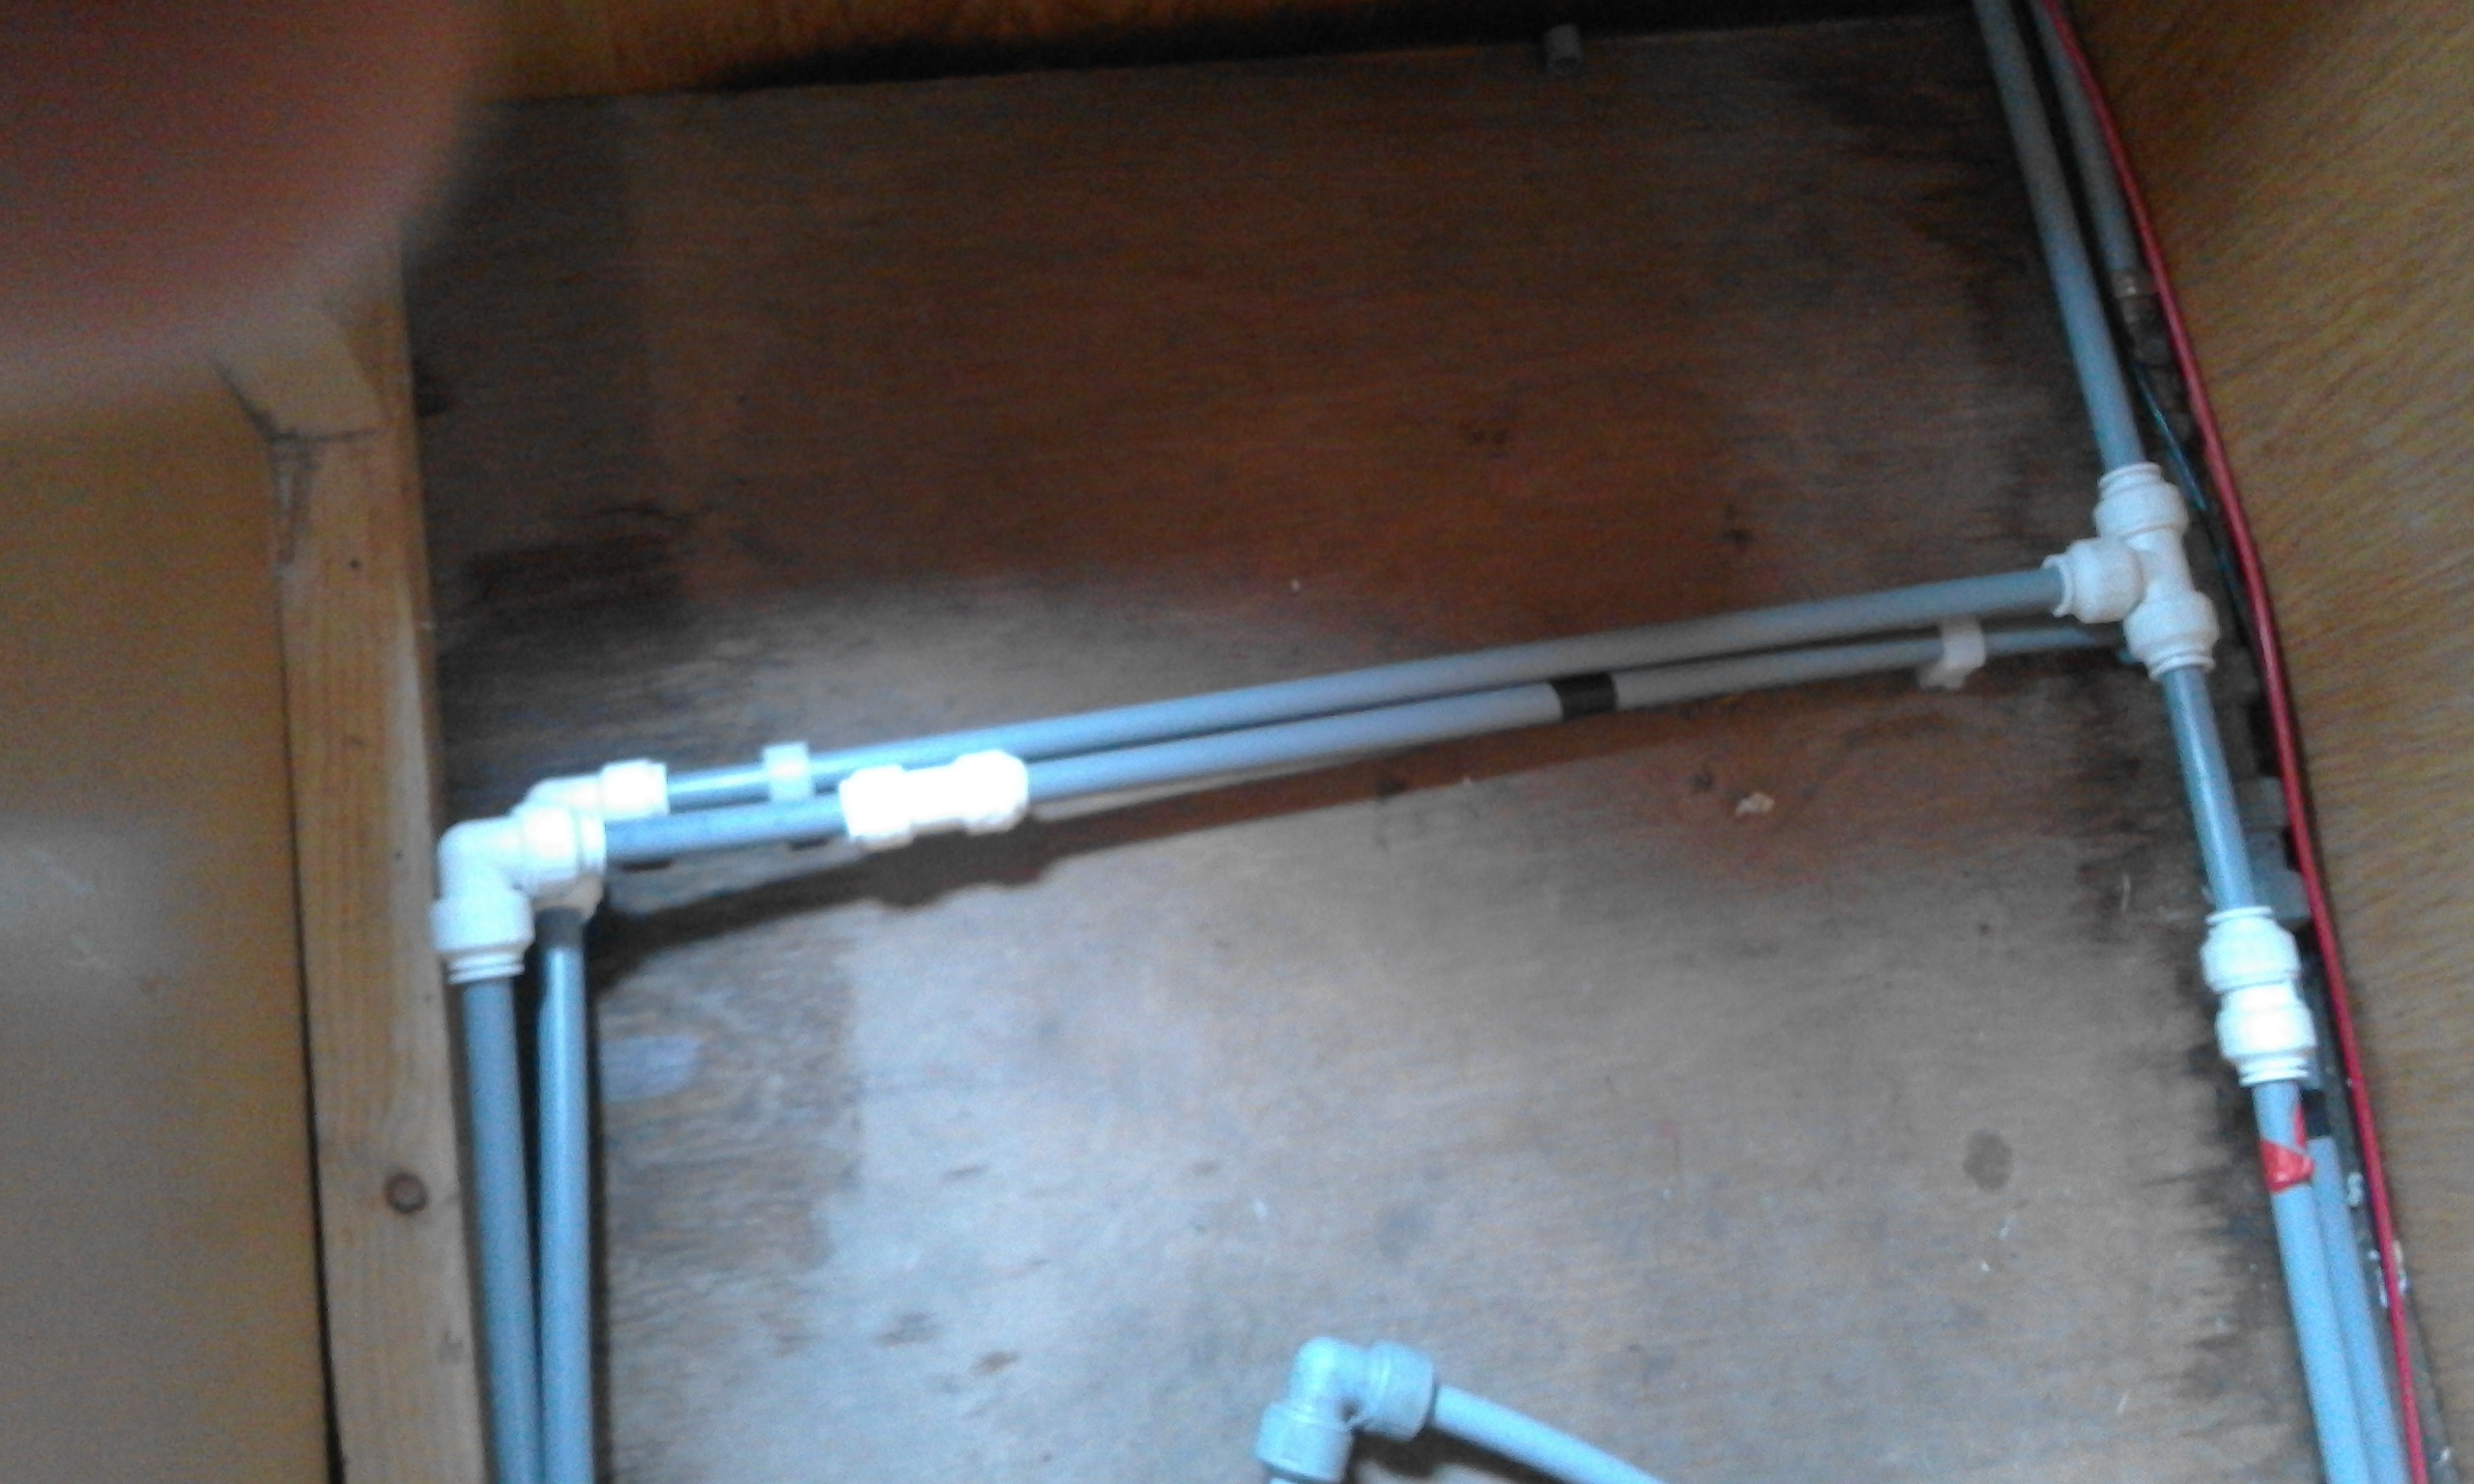
As the new tank is bigger than the old one I had to reorganise some of the plumbing.
The next job was to lift the new tank into place. It’s a lot lighter than the old one, but still fairly awkward to do within the confines of the boat. It wouldn’t fit through the back doors, so it came in through the front and had to be carried the whole length of the boat.
I thought that the final job of fitting the connections would be easy, but it wasnt. The pumpout connection and the air breather pipes are nominally 38mm, the connections to the tank were 40mm. By softening with some heat it should have been possible to fit them over. But after almost two hours of trying I was getting nowhere. One problem was that with the new tank being deeper than the old one the angle of the pipes onto the fitting was different. We made a quick trip up to LeeSan at Fenny Compton. I thought that our old pipes had become too hard with age, so I could replace them with new ones. But instead a very helpful guy at LeeSan sold me two new fittings with 38mm tails. These went on easily.
The last job was to re-connect the water inlet and wiring to the toilet.
It had taken two days of pretty hard, messy work but it should last a while, and we now can go longer between pumpouts as the new tank is about 40% bigger than the old one.